Crispy Rice with Spicy Tuna (Nobu-Style)
January 10, 2026
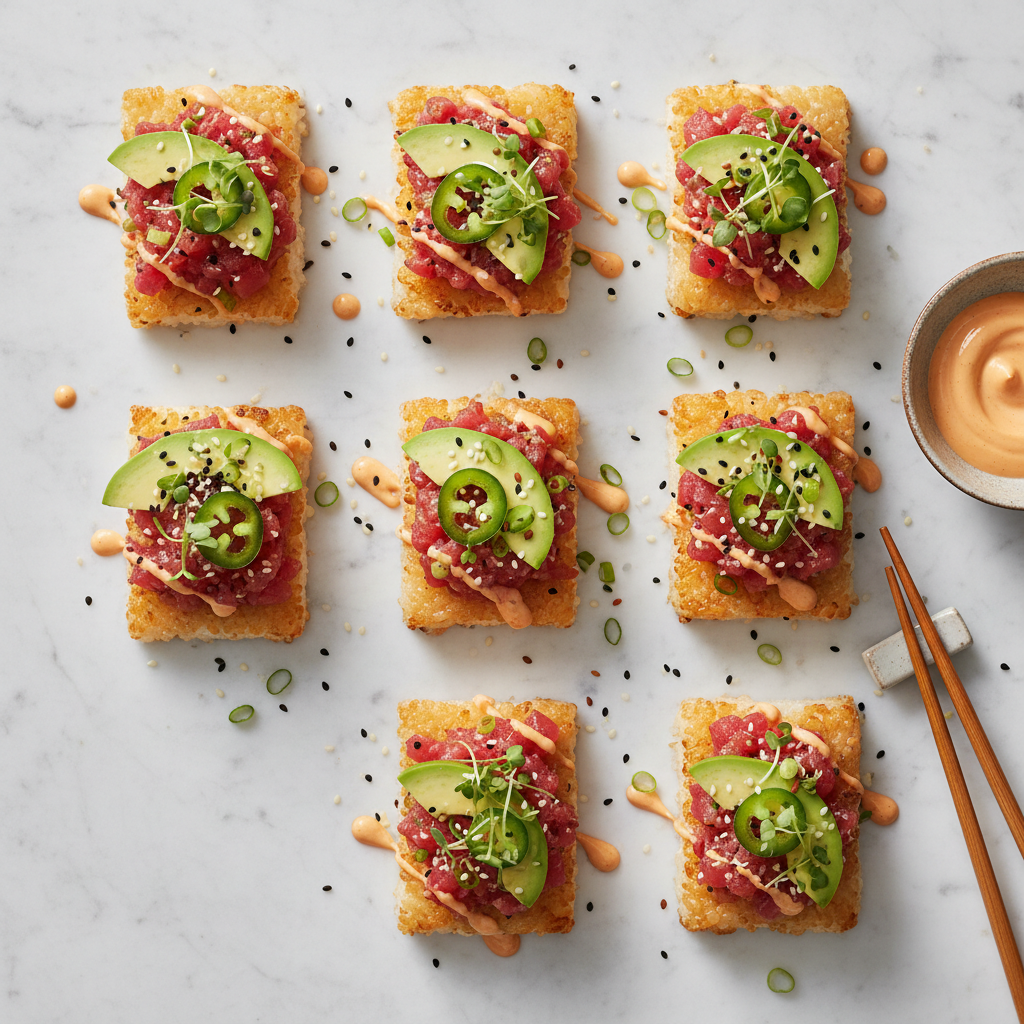
Nobu Matsuhisa's crispy rice with spicy tuna is the restaurant appetizer that launched a thousand imitations the moment guests tasted it — a perfect golden-fried sushi rice cake, topped with a creamy, gently spiced tuna mixture, finished with thin avocado, a jalapeño ring, and a drizzle of spicy mayo. The contrast between the shatteringly crispy exterior of the rice cake and the cool, silky tuna above it is the entire point.
The technique originates at Nobu's flagship restaurants, where it has appeared on the menu since the 1990s and remains one of the most-ordered items. The method is more accessible than it looks: press day-old sushi rice into a sheet, refrigerate until firm, cut into rectangles, and fry at high heat in neutral oil. The result is a dramatic golden cage around a warm, sticky interior that holds together under the weight of the topping without collapsing.
What Makes This Version Definitive
The critical variables are the rice (must be sushi rice, properly seasoned with rice vinegar, sugar, and salt, made at least one day ahead and refrigerated), the oil temperature (325–350°F — too high burns before the crust sets; too low produces a greasy, soft result), and the tuna dressing (Kewpie mayo, sriracha, soy, and sesame oil in the correct ratio).
Kewpie mayonnaise — the Japanese brand made with only egg yolks rather than whole eggs, and seasoned with MSG and rice vinegar — is non-negotiable for the authentic version. The creamier, richer, and more umami-forward profile of Kewpie cannot be replicated by American-style mayonnaise.
Ingredients (makes 24 pieces):
Sushi Rice (make 1–2 days ahead): - 2 cups short-grain Japanese sushi rice (Koshihikari or Calrose variety) - 2½ cups cold water - 3 tablespoons rice vinegar (unseasoned) - 1½ tablespoons granulated sugar - 1¼ teaspoons fine sea salt
Spicy Tuna: - 10 oz sushi-grade ahi tuna (yellowfin), very finely diced or chopped — not ground - 3 tablespoons Kewpie mayonnaise (Japanese brand — not standard mayo) - 1 tablespoon sriracha (adjust to preferred heat level) - 1 teaspoon soy sauce or tamari - 1 teaspoon toasted sesame oil - ½ teaspoon fresh lime juice - 2 tablespoons fresh chives or scallions, very finely minced
For Frying: - Neutral oil (avocado, vegetable, or canola) — enough to come 1½ inches up the sides of a heavy saucepan
Assembly: - 1 ripe avocado, cut into 24 thin slices - 1 jalapeño, cut into very thin rounds - Micro herbs (micro cilantro, micro shiso, or pea shoots) - 2 tablespoons sriracha mayo for drizzling (Kewpie + sriracha, 3:1 ratio) - 1 teaspoon black and white sesame seeds - Flaky sea salt
Sushi Rice: Rinse rice under cold water until the water runs clear (approximately 4–5 rinses). Combine with cold water in a rice cooker or heavy-bottomed saucepan. Cook until water is fully absorbed. While the rice is hot, dissolve rice vinegar, sugar, and salt together. Fold the seasoning into the hot rice using a wooden spatula, fanning simultaneously to cool it and produce the characteristic sheen. Do not mash — fold.
Press the seasoned rice into a parchment-lined 8×8-inch baking pan or loaf pan to a uniform 1-inch thickness, pressing firmly. Cover with plastic wrap, press directly on the surface, and refrigerate for a minimum of 6 hours or overnight. The cold firms the starch and creates the structural integrity the rice cake needs to hold together during frying and topping.
Cutting: Remove the cold rice slab from the refrigerator. Invert onto a cutting board. Using a sharp knife dampened with cold water, cut into 24 uniform rectangles (approximately 1½ x 2¼ inches). Keep cold until frying.
Frying: Heat neutral oil in a heavy-bottomed saucepan to exactly 340°F (use a thermometer — temperature control is critical). Working in batches of 4–6 pieces, fry the rice cakes for 3–4 minutes, turning once, until deeply golden and shatteringly crisp on all sides. The interior will remain chewy and warm. Remove with a slotted spoon and drain on a wire rack. Season immediately with a grain of flaky salt. Keep warm.
Spicy Tuna: Combine diced tuna, Kewpie mayo, sriracha, soy sauce, sesame oil, lime juice, and minced chives. Fold gently — do not overmix. The tuna should be dressed but still have visible texture. Taste and adjust sriracha for heat. Keep refrigerated until service.
Assembly (at service): Place each warm, fried rice cake on a serving platter. Place one thin avocado slice on top of the rice cake. Spoon a generous teaspoon of spicy tuna mixture on top of the avocado. Lay one thin jalapeño ring across the tuna. Drizzle spicy mayo in a thin line. Scatter a small pinch of sesame seeds. Tuck a micro herb at the base.
Serve within 5 minutes of assembling — the rice cake begins to absorb moisture from the topping and loses its crunch beyond that window.
The Mimosa Pairing Logic: The combination of spicy, umami-rich tuna and crispy rice pairs with clean, citrus-forward mimosas that cut through the richness and refresh the palate between bites. A classic orange mimosa, cucumber mint mimosa, or yuzu honey mimosa creates the best bridge — the citrus echoes the lime in the tuna dressing while the champagne's effervescence provides palate-cleansing contrast. Avoid very sweet tropical mimosas — they amplify the richness of the Kewpie mayo rather than cutting through it.
Reference Links: - Kewpie mayonnaise guide: Japan Centre - Sushi rice technique: Just One Cookbook - Nobu-style spicy tuna crispy rice: RecipeTin Eats - Sustainable tuna sourcing: Monterey Bay Aquarium Seafood Watch
Make-Ahead: Sushi rice slab (2 days, refrigerated); spicy tuna mixture (2 hours max, refrigerated); cut rice cakes (4 hours, refrigerated, covered). Fry and assemble as close to service as possible — this dish does not hold.
Variations: - Replace tuna with finely diced salmon for a salmon version - Add a thin slice of cucumber beneath the avocado for additional crunch and coolness - Top with a small amount of tobiko (flying fish roe) for color and briny pop
Pro Tips: Day-old cold sushi rice is essential — freshly made rice is too soft and crumbles during frying. The rice vinegar seasoning must be done when the rice is still very hot to achieve the characteristic sticky, glossy result. Oil temperature maintenance is critical — too cool produces a greasy result; too hot produces a dark exterior before the interior warms through. Work in small batches and rest the oil temperature between rounds.
Rate this recipe
Be the first to rate this recipe
to submit your rating.
Recent Posts
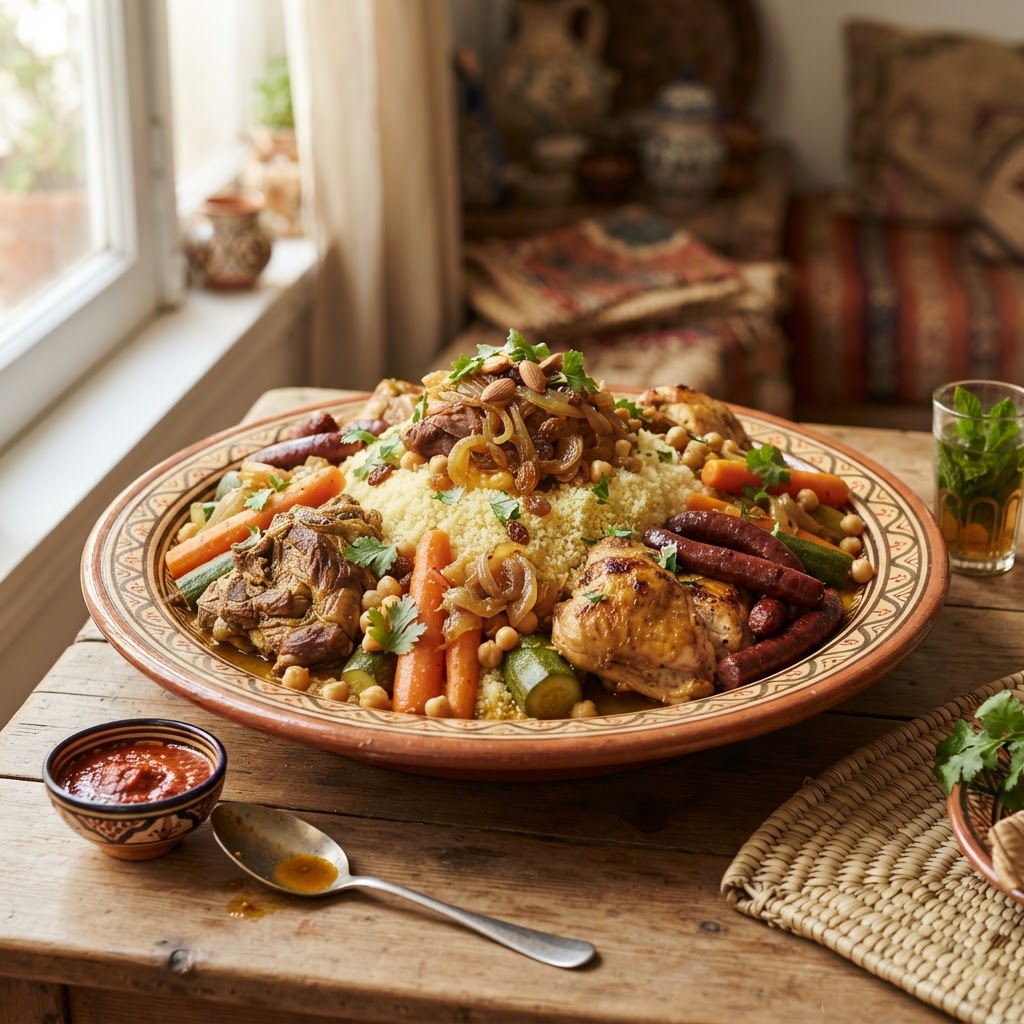
Couscous Royale: North Africa's Grand Platter of Lamb, Chicken, and Merguez
October 14, 2026

Seattle Cream Cheese Dog Bites: Hadley Long's 1989 Pioneer Square Invention
October 14, 2026
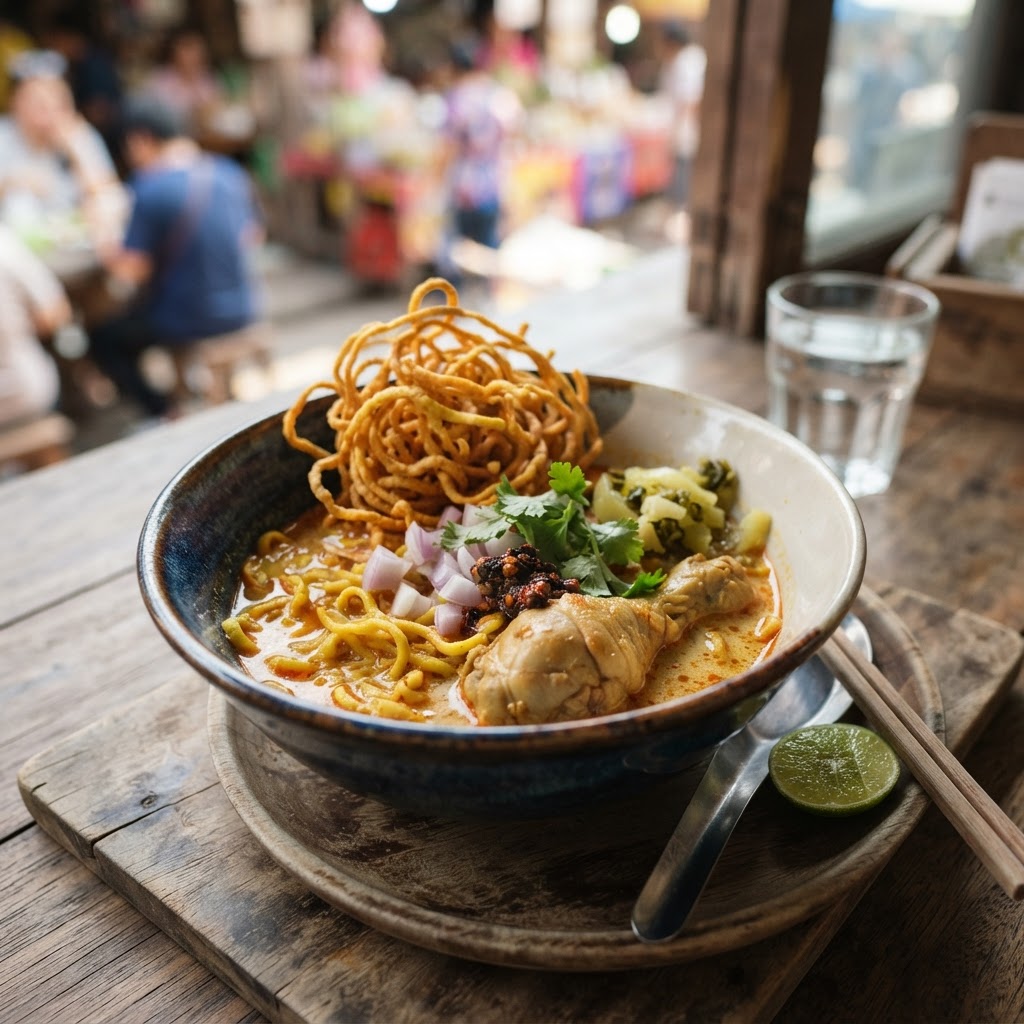
Khao Soi: Chiang Mai's Northern Thai Coconut Curry Noodles
October 13, 2026
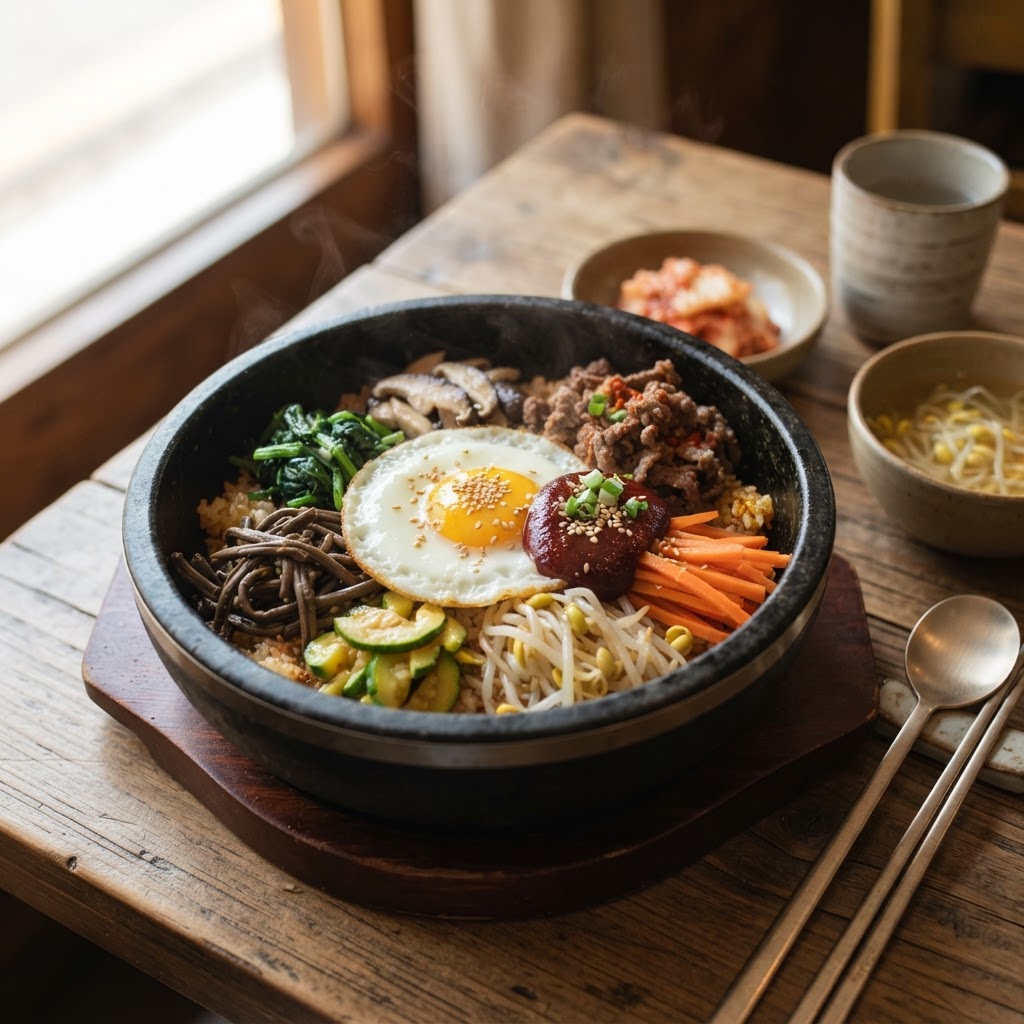
Korean Bibimbap: Jeonju's Joseon Dynasty Mixed Rice
October 11, 2026
Spaghetti alla Carbonara: Rome's World War II Pasta of Eggs, Guanciale, and Pecorino
October 9, 2026